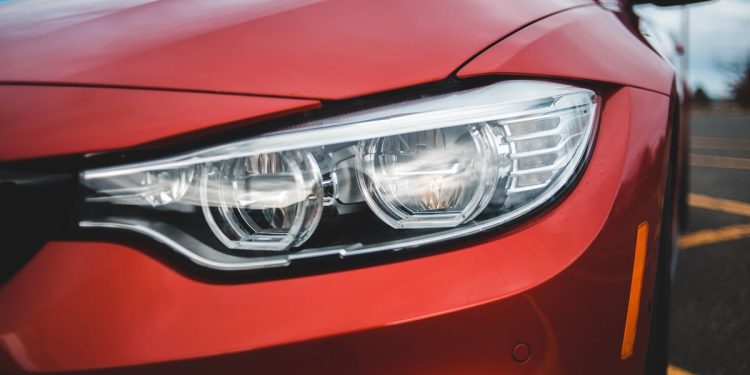
Working headlights are a fundamental element of car safety. Like every other part of a vehicle, they occasionally need maintenance. Headlights can fail for various reasons, including age, extreme temperature changes, damage to the light housing, and oxidation. Whatever the cause, they should be replaced as soon as they go out. Keep reading to learn how to change headlight bulbs in six easy steps!
Steps to Change Headlight Bulbs
-
Park in a Well-Lit Area and Turn Off the Engine
Ensure your car is turned off, and remove the keys from the ignition before starting any work to avoid injury. It’s also advisable to park your vehicle on a flat surface with adequate lighting.
-
Open the Hood and Disconnect the Headlight Housing
Open the hood and locate the headlight housing. The housing’s location varies by vehicle model. Some housings don’t require removal and can be accessed through the engine bay or behind the wheels.
Typically, there are three wires connected to the back of the bulb, secured with a metal clip or screw cap. Release the power connector by pressing on a tab or clip. -
Unscrew the Old Headlight Bulb
If you’re changing the headlights in an older vehicle, identify the low beam and high beam bulbs. The low beam bulb is usually on the outer side, while the high beam is on the inner side. The low beam bulb typically has a higher part number, so refer to your owner’s manual for clarification.
For newer models, one bulb serves both functions.
After identifying the correct bulb, turn it counterclockwise and pull it out once the locking tabs are aligned. Be cautious during this step, as damaging the locking tabs may require replacing the entire headlight assembly. -
Screw in the New Headlight Bulb
Oils, dirt, and moisture can contaminate and shorten the lifespan of a lightbulb. Therefore, wear gloves when handling the replacement bulb. Align the bulb with the locking tabs on the holder and turn it clockwise until you hear a click. Reattach the headlight assembly and any other parts you removed.
-
Repeat Steps 2-4 on the Other Headlight
If one headlight bulb fails, the other is likely to follow suit. Replace headlight bulbs in pairs by repeating the previous steps for the other side.
-
Do a Quick Test
Start the car and test the low and high beams to ensure they are functioning properly. If everything works, you’re ready to hit the road!


